Setting Up Podman with Lima on Mac M3
Dive into our comprehensive guide on setting up Podman using Lima on the latest Apple Silicon Mac M3. This step-by-step tutorial will walk you through the prerequisites, installation process, and initialization of a new Lima instance configured for Podman. Whether you are a seasoned developer or just starting with containerization on Apple Silicon, this guide provides clear instructions and essential tips to ensure a seamless setup.
Prerequisites
1. Homebrew Installation:
Ensure you have Homebrew installed on your system. If not, you can install it using the following command:
/bin/bash -c "$(curl -fsSL https://raw.githubusercontent.com/Homebrew/install/HEAD/install.sh)"2. Rosetta 2 Installation:
Install Rosetta 2, which allows Apple Silicon Macs to run x86_64 code. You can do this via Terminal:
softwareupdate --install-rosettaStep-by-Step Guide
Install Lima
1. Using Homebrew to Install Lima:
Open your Terminal and execute the following command:
brew install limaInitialize Lima
1. Initialize a New Lima Instance with Default Settings:
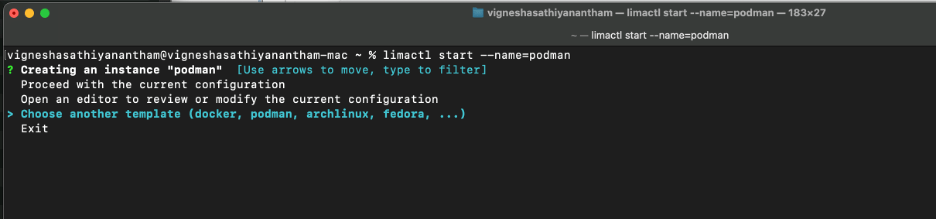
To start a new Lima instance for Podman with the default settings, run:
limactl start --name=podmanThe initialization process will prompt you to:
• Proceed with the current configuration.
• Create another template (e.g., docker, podman, archlinux, fedora, etc.).
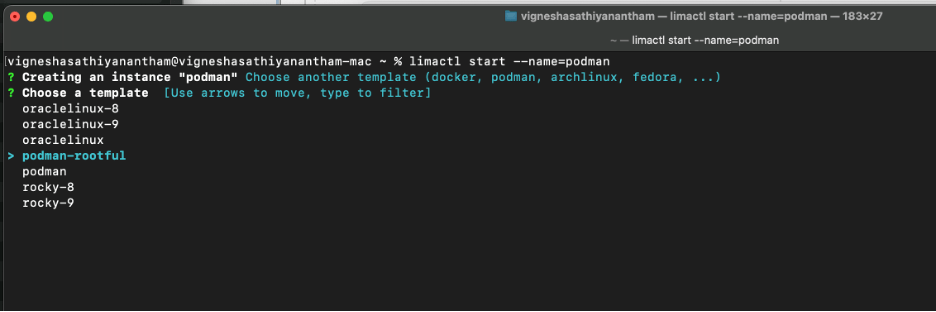
2. Select the Template Configuration:
To proceed with the Podman template configuration, ensure you select podman from the available options or confirm if the default template is already configured for Podman.
Select the instance podman-rootful
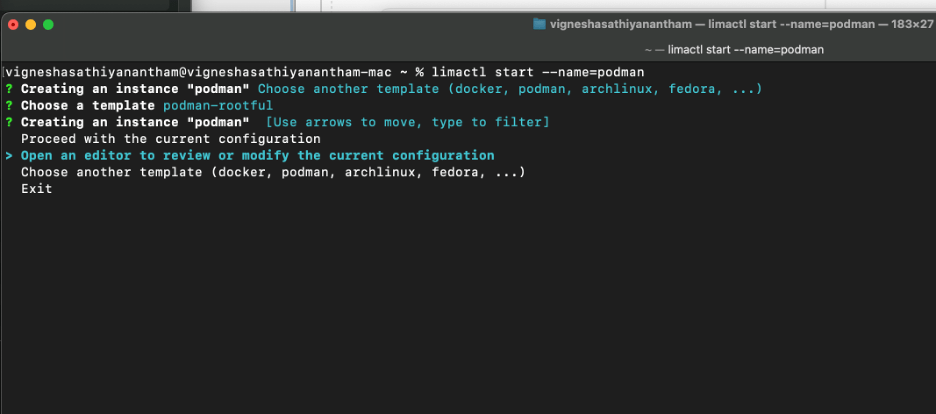
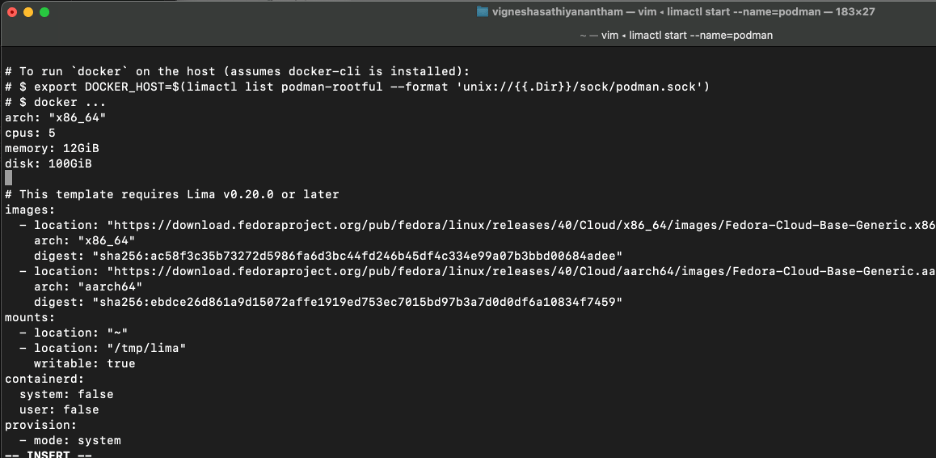
Lima uses a configuration file to set up the environment. To configure Lima to use the x86_64 architecture, choose to open an editor to review or modify the current configurations.
Add the following line at the beginning of the configuration file:
arch: "x86_64"
cpus: 5
memory: 12GiB
disk: 100GiB
Adjust the cpus, memory and disk as per your requirement
3. Completing the Initialization:
Follow the prompts to complete the Lima instance setup. This includes accepting any permissions and configurations needed to establish the instance.”’
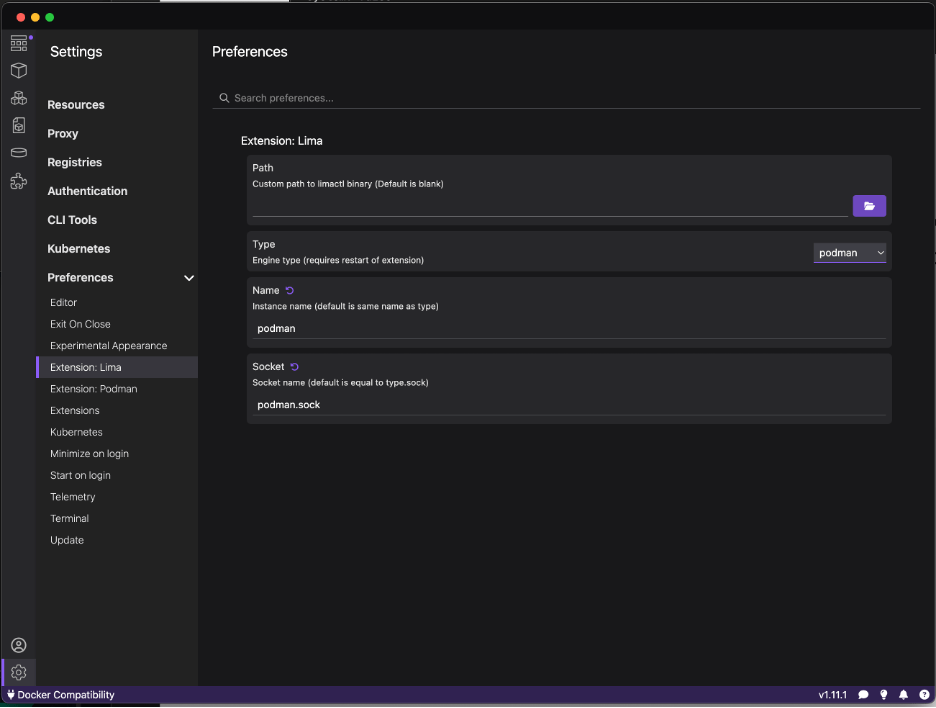
Configure System Connection Settings:
Once Lima and Podman are set up, configure the system connection settings for Podman. This can typically be done through the Podman desktop interface.
Restart Podman Desktop:
Finally, restart the Podman desktop to apply the new settings and configurations.
Verify the Connection list
% podman system connection list
Additional Tips
• Running Podman Commands:
After successfully setting up Lima, you can use Podman commands within the Lima instance. Ensure that you have the necessary permissions and configurations to execute these commands effectively.
• Troubleshooting:
If you encounter any issues, consult the official Lima and Podman documentation or check community forums for troubleshooting tips and best practices.
This guide provides a streamlined process to set up and initialize Podman using Lima on an Apple Silicon Mac M3. Ensure you have the required tools and follow the steps precisely to achieve a successful setup.
One Comment